Vaadin Framework Tutorial: A Frontend Development Guide for Java Engineers
TL;DR Introduces how the Vaadin framework provides backend engineers with pre-packaged web components, enabling them to rapidly build full-featured UIs without learning the frontend ecosystem.
The Frontend Dilemma for Backend Engineers
The pain point of backend engineers developing frontend code is usually that it’s too tedious — you often have to spend a long time looking things up for even the smallest task. Vaadin solves this pain point well by providing backend engineers with an easy-to-learn, convenient solution for writing frontend code. Today, let’s take a look.
What is Vaadin
Hello everyone, today I’d like to introduce a tool that’s especially valuable for backend engineers — Vaadin.
To be honest, getting started with basic HTML and CSS development isn’t really difficult. But if you only know these basics, development can be very tedious. If you want to use the various tools in the frontend ecosystem, convenience improves but so does the learning curve. So unless you’re a professional full-stack engineer, just a backend developer wanting to write some frontend code temporarily — for example, when building a small project on your own — it’s usually a painful process.
Vaadin solves this pain point well. Through Vaadin’s pre-packaged common frontend components, we can write functional, reasonably presentable pages with nearly zero learning cost. For programmers with a backend background, this will significantly reduce the cost of building small projects on your own.
Core Concepts
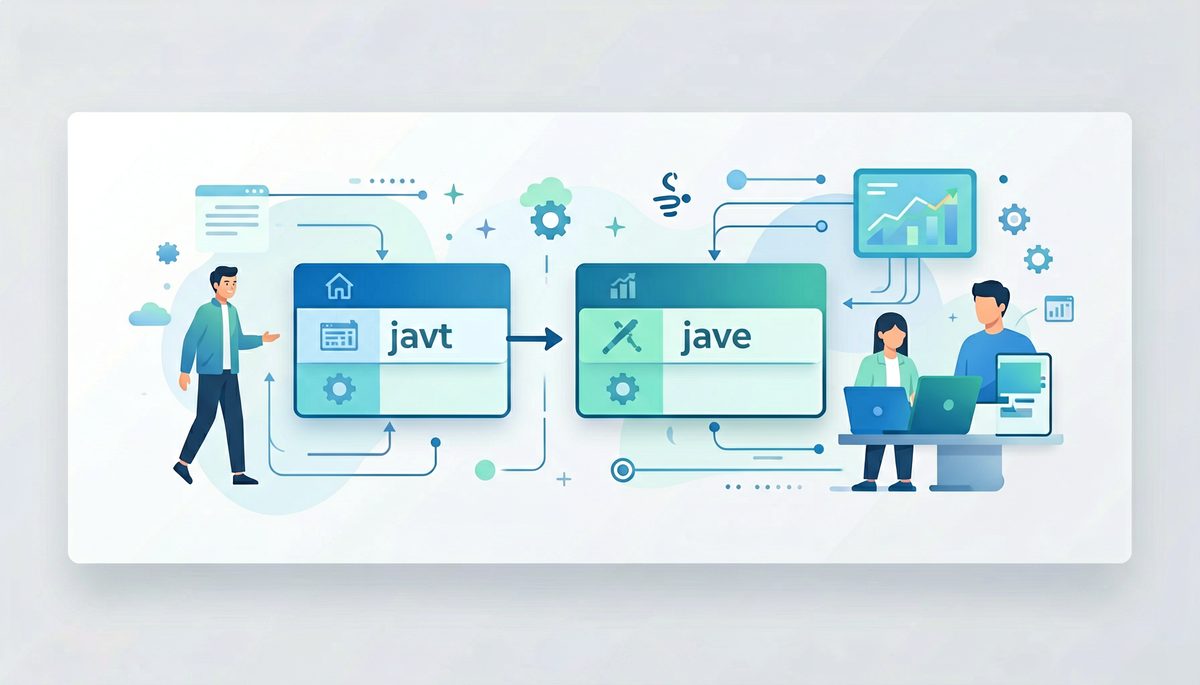
What Vaadin offers is the ability to write pages directly in Java code. Vaadin provides various pre-built frontend styles including input fields, forms, and more, and it deeply integrates with Spring Boot, making it very convenient to use.
The underlying principle of Vaadin isn’t complex — it’s mainly based on server-side rendering, meaning the final HTML code is generated on the backend and sent to the browser. Server-side rendering isn’t uncommon, and we won’t discuss its advantages and disadvantages compared to client-side rendering here. Of course, for Vaadin, using server-side rendering makes perfect sense — since you’re writing backend code, doing rendering on the backend is a completely natural implementation path. Vaadin’s engine encapsulates the interaction between frontend and backend, so for users, the interaction between frontend and backend is transparent. At the page level, we can also call backend services normally.
Quick Start
Here’s a code example I wrote to give you a more intuitive sense of Vaadin’s capabilities:
1 | @Route(value = "path", layout = MainView.class) |
In this code, we used Java code entirely to arrange the various components on the page. Even the button’s click handler is defined in a way familiar to Java developers, and it can directly call other backend services — making it nearly zero learning cost.
For detailed code and the running effect, you can check the project repository.
If you’re interested in Vaadin or have any questions or thoughts, feel free to discuss in the comments section. Let’s explore how to better leverage Vaadin and improve our development efficiency together!
Source: https://lichuanyang.top/en/posts/43947/
Quick Start Guide
Step 1: Environment Setup
Ensure JDK and Maven/Gradle are installed. Spring Boot is recommended as the base framework. Install the Vaadin plugin in your IDE for a better development experience.
Step 2: Create Your First Vaadin Project
Use Spring Initializr or the official Vaadin scaffolding to create a project, adding Vaadin dependencies. After starting the project, visit the default port to see the initial page.
Step 3: Write UI Components
Use Vaadin’s component classes (such as TextField, Button, VerticalLayout, etc.) to build page layouts directly in Java code. Define page routes with the @Route annotation and set page titles with @PageTitle.
Step 4: Data Binding
Inject business services via @Autowired, call backend logic in button click events, and set the returned results to corresponding UI components to achieve frontend-backend data interaction.
Step 5: Deployment
Package into an executable JAR file using mvn package or gradle build, then deploy to a server to run.
 微信
微信